Cold plunging at home has become an increasingly popular way to support recovery, build consistency, and explore cold water immersion without relying on gyms or specialized facilities. The good news is that starting a cold plunge routine at home doesn’t need to be complicated.
This beginner-friendly guide walks through everything you need to know to safely and practically start cold plunging at home.
What You Need to Start Cold Plunging at Home
You don’t need an expensive or permanent installation to begin. A simple home cold plunge setup typically includes:
- A cold plunge tub or ice bath container
- Cold water (tap water is sufficient)
- Ice, depending on your local climate
- Optional accessories to help maintain temperature and cleanliness
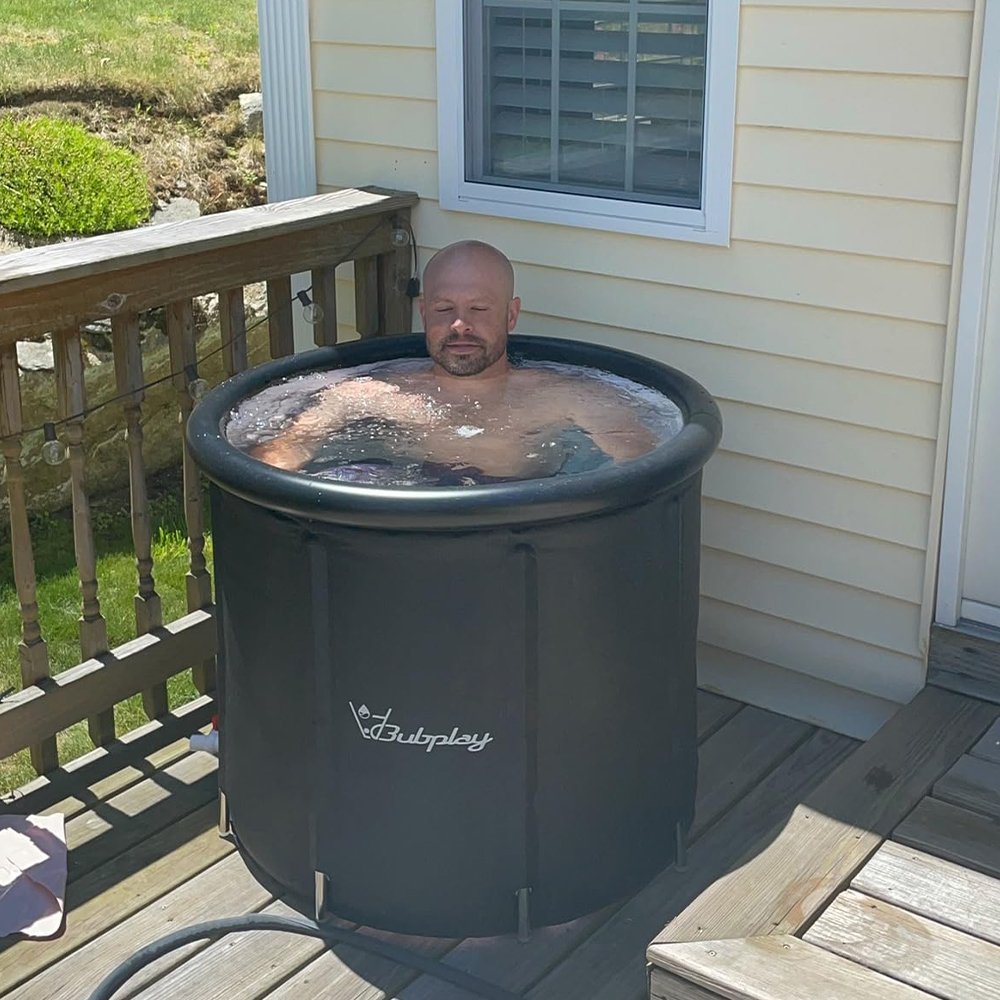
Portable ice bath tubs are a common choice for beginners because they are easy to set up, store, and use both indoors and outdoors.
Choosing the Right Location
When setting up your ice bath at home, choose a location that is:
- Flat and stable
- Easy to drain
- Comfortable for entry and exit
Common locations include:
- Bathrooms
- Garages
- Backyards or patios
- Home gyms
Outdoor setups are especially popular, but accessories such as waterproof covers can help protect your ice bath from debris and weather.
Step-by-Step: How to Start Cold Plunging at Home
Step 1: Fill the Tub with Cold Water
Start by filling your tub with cold tap water. For most beginners, this alone is cold enough for an initial session.
If needed, add ice gradually until the water reaches a comfortable starting temperature.
Step 2: Check the Water Temperature
Beginners typically start with water temperatures between 55–59°F (13–15°C).
More experienced users may go colder over time, but colder is not always better.
Use a thermometer if available, or adjust gradually based on comfort.
Step 3: Ease Into the Water
Step into the ice bath slowly. Focus on steady breathing as your body adjusts to the cold.
It’s normal for breathing to feel shallow at first. Take slow, controlled breaths until you feel calm and stable.
Step 4: Set a Time Limit
For beginners, start with 2–5 minutes.
As you gain experience, sessions can gradually increase to 5–15 minutes.
Consistency matters more than duration.
Step 5: Exit Safely and Warm Up
Exit the tub carefully. After your session:
- Dry off
- Put on warm clothing
- Allow your body to warm naturally
Avoid extremely hot showers immediately after cold exposure.
How Often Should You Cold Plunge at Home?
Many beginners start with 2–3 sessions per week.
As your body adapts, frequency can be adjusted based on recovery goals and comfort level.
There is no universal schedule. A sustainable routine is one you can maintain long-term.
Safety Tips for Beginners
Cold plunging is a controlled practice and should always be approached responsibly.
- Start with shorter sessions
- Avoid plunging alone if you are new
- Exit immediately if you feel dizzy or unwell
- Consult a healthcare professional if you have underlying medical conditions
Cold plunge recovery is not a medical treatment and should not replace professional medical advice.
Making Cold Plunging Easier at Home
As you build consistency, small upgrades can make a big difference:
- Insulated covers help maintain colder water temperatures
- Waterproof covers protect outdoor setups
- Drain valves make water changes faster and cleaner
These additions help reduce maintenance time and improve the overall experience.
Final Thoughts
Starting cold plunging at home doesn’t require complex equipment or extreme temperatures. With a simple setup, a gradual approach, and consistent practice, cold water immersion can become a practical part of your recovery routine.
Focus on safety, listen to your body, and build a routine that fits your lifestyle.